Now that we have downloaded our stage 3 archive and extracted it plus configured the compile options, we are now ready to actually start installing our system.
First of all, we will copy the DNS info to our new system:
cp --dereference /etc/resolv.conf /mnt/gentoo/etc/
Now, we "chroot" into the system:
arch-chroot /mnt/gentoo
Now we will add a note to our prompt to remind us that we are in chroot:
export PS1="(chroot) ${PS1}"
Once this done, we are going to install a Gentoo ebuild repository snapshot from the Internet:
emerge-webrsync
Now you can read Portage's news items. First, list them:
eselect news list
Then you read them (note: you can add the new's number from the list to read just a specific new item):
eselect news read
It is now time to select the correct profile you want for your installation. List the profiles:
eselect profile list
Then select the profile you want, let's say we want option 8:
eselect profile set 8
Most architectures, when using Gentoo, require a special file listing all of the CPU flags. We will use a tool to create this file. First install the tool:
emerge --ask --oneshot cpuid2cpuflags
Running the tool using cpuid2cpuflags should output your CPU flags. Now let's create the required file:
echo "*/* $(cpuid2cpuflags)" > /etc/portage/package.use/00cpu-flags
Gentoo also requires another special file which specifies which GPU(s) you have in your system. Create, using nano, the /etc/portage/package.use/00video_cards file. Here is what the content of the file should look like:
*/* VIDEO_CARDS: -* (GPU DRIVER NAME)
Here is a table showing what you should put as GPU driver names.
| GPU | Driver |
|---|---|
| NVIDIA | nvidia |
| AMD | amdgpu radeonsi |
| Intel (Nehalem and newer) | intel |
| Intel Gen. 2 and 3 | intel i915 |
| QEMU | virgl |
| WSL | d3d12 |
Note: If you have, for example, an Intel iGPU in addition to your NVIDIA dGPU, put both the NVIDIA and Intel driver names.
We are now going to run a full update of our newly installed system. This step is optional but I highly recommend doing it: it has to be done at some point or another anyways, and it will give us the latest packages matching the profile we selected. Run the following command, which should take a while to complete:
emerge --ask --verbose --update --deep --changed-use @world
Here is a screenshot of the initial @world update in action:
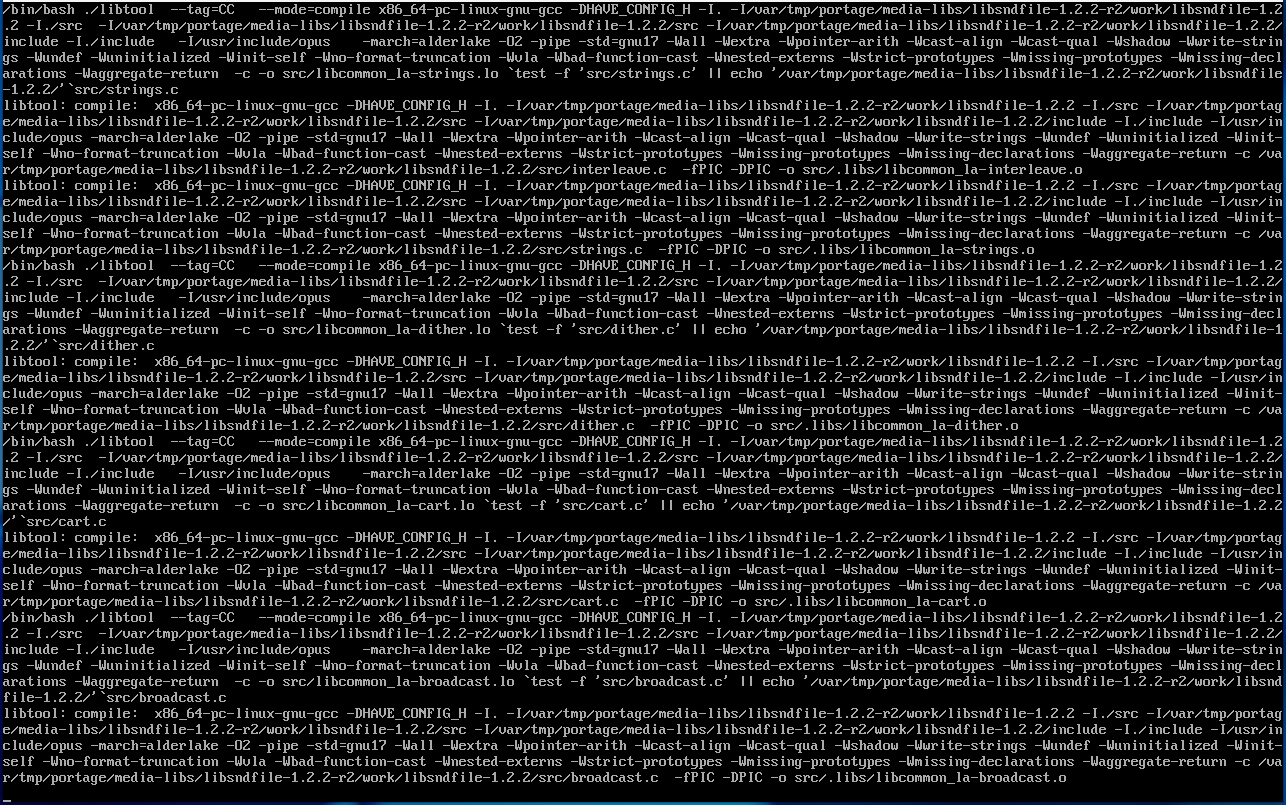
Once this is done, we will remove the obsolete and unnecessary packages:
emerge --ask --depclean
Now we are ready to set the timezone. Browse /usr/share/zoneinfo to find your timezone and create a symlink to set it (for example, here, US Eastern is chosen):
ln -sf /usr/share/zoneinfo/US/Eastern /etc/localtime
If your PC does not have Windows, it is recommended to set the system clock to UTC with the following command:
hwclock --systohc --utc
Now is time to set up the locales for the system. First of all, uncomment the locale(s) you want in the /etc/locale.gen file using nano and save. Then generate the locales:
locale-gen
Now we will select the locale we want using eselect. List the available locales:
eselect locale list
Then choose the locale to use, in this example locale 4:
eselect locale set 4
Now reload your environment:
env-update && source /etc/profile && export PS1="(chroot) ${PS1}"
We are now ready to proceed with the next step.
Next page